Navigate to preferences/import settings/
Under ‘import using’ choose WAV
Whenever audio is imported via iTunes, it will now be saved as SPD-SX friendly, CD quality audio.
You can see the format of your existing iTunes files by ‘control’ left clicking or right clicking the information header pane in iTunes and choosing ‘sample rate’ and ‘bit rate’. You will now see the format of your iTunes audio files.

If you have existing files you want to take into the SPD-SX, simply select the file in iTunes and choose ‘Create WAV’ file from the file menu. iTunes will create a new version of the audio file at 44.1khz 16 bit.
This is the file you will use with the SPD-SX. Simply drag and drop the new file onto a USB stick or copy it to a new, easy to find folder on your hard drive named something like ‘SPDSX AUDIO’.
Keep in mind that taking a low bit rate MP3 file and converting it to WAV will NOT improve its audio quality whatsoever. It will simply make it compatible with the SPD-SX.
The only way to ensure you are getting the best possible audio quality is to get a new copy of the original audio at CD quality or by re-importing the original audio file back into iTunes from CD now that you have your new CD quality settings in iTunes. When you do so, you will be asked if you’d like to update your iTunes library by replacing the existing files.
These are:

BASIC-for single samples
MULTI-for samples split across pads
WITH EFX-for sampling through the built-in SPD-SX effects
CHOP-for chopping up an existing internal sample across pads
PERFORM & RECORD -for creating a new sample out of a real-time performance played on the SPD-SX
Let’s take the BASIC sampling template to see the simplest process.
1. Press SAMPLING–BASIC–ENTER
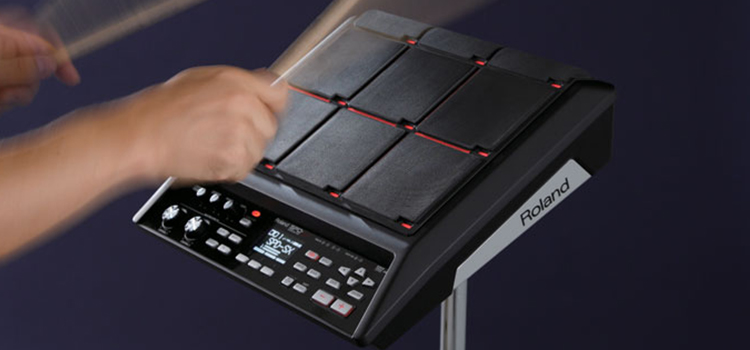
2. Input a sound via the rear audio inputs and monitor the level and press STBY to prepare to record.
3. Adjust the sensitivity knob on the rear so that the level reaches approximately three quarters on the meter and doesn’t reach maximum level.
4. Use the down arrow to highlight and choose onto which pad the sample will be assigned. This can be always changed later.
5. Press START to begin recording and start the input sound going. When done, press STOP
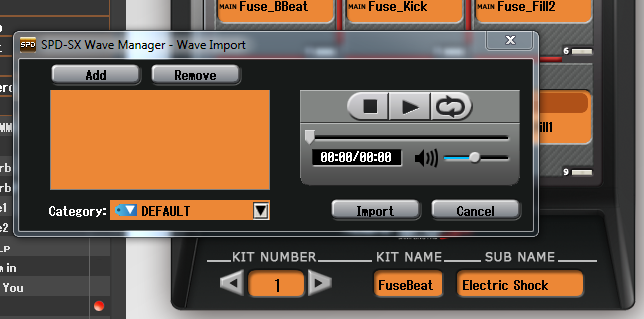
You will now see the new sample displayed in the waveform editor. You can press the PREVIEW button to hear it and zoom in and out using the cursor keys. Then use the + – keys to edit the start and end points When done, press ENTER to save the new sample to the internal memory. This new sample is now available to assign to any pad in any kit and will be seen also in Wave Manager next time you connect to it.

This will save the entire setup and all samples in your SPD-SX to a location of your choice on your MAC or PC for later use.
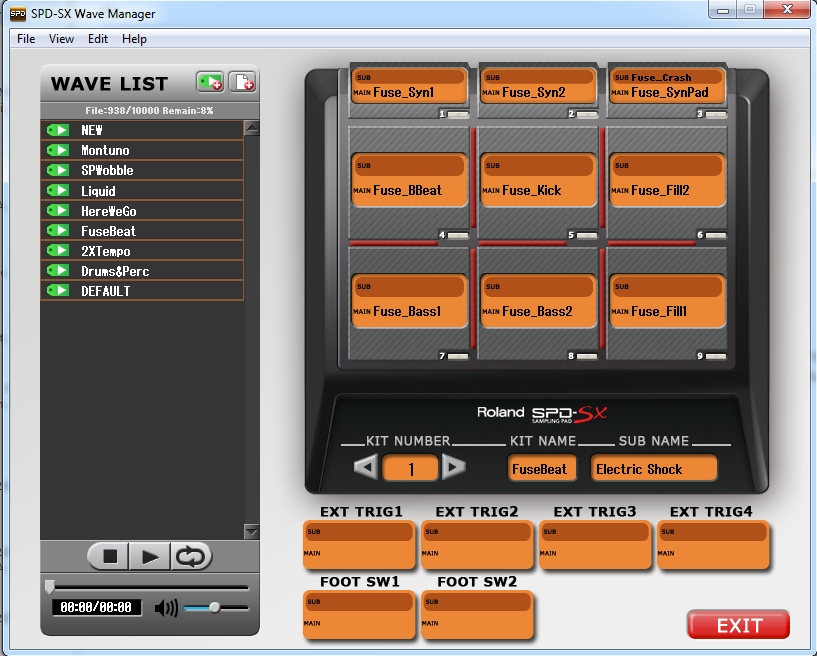
First Set the SPD-SX is set to wave manager mode.
1. Press MENU–SETUP–ENTER–OPTION–ENTER
2. Set USB MODE to ‘WAVE MGR‘
Next, connect the SPD-SX via USB to the MAC or PC

1. Launch Wave Manager software
2. Choose SPD-SX when prompted by the software to ‘Select Storage’
3. From the Wave Manager menu, choose ‘Save All’ to create a single backup file containing all samples and settings to save to your hard disk.
VERY IMPORTANT! This step will replace/delete the entire setup and all samples currently in your SPD-SX so make sure you perform a backup first!
First Set the SPD-SX is set to wave manager mode.
1. Press MENU–SETUP–ENTER–OPTION–ENTER
2. Set USB MODE to ‘WAVE MGR‘
Next, connect the SPD-SX via USB to the MAC or PC
1. Launch Wave Manager software
2. Choose SPD-SX when prompted by the software to ‘Select Storage’
3. From the Wave Manager menu, choose ‘Load All’ and select the backup file to load into the SPD-SX.